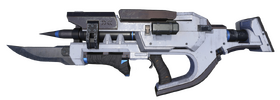
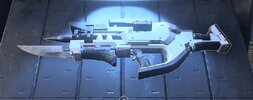
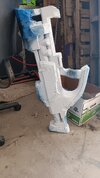
So first of all this was a Secret Santa build for SigmaProps for the 2024 Midwest Secret Santa.
So the first thing I needed to do was figure out the scale of the prop. And I knew that the original scale of about 68.7 inches long was going to be too big.
And the scale I ended up with was about 2/3 scale (44 inches long)
Prop materials purchased: (Foam, PVC pipe, Dowel rods, Flat popler board)
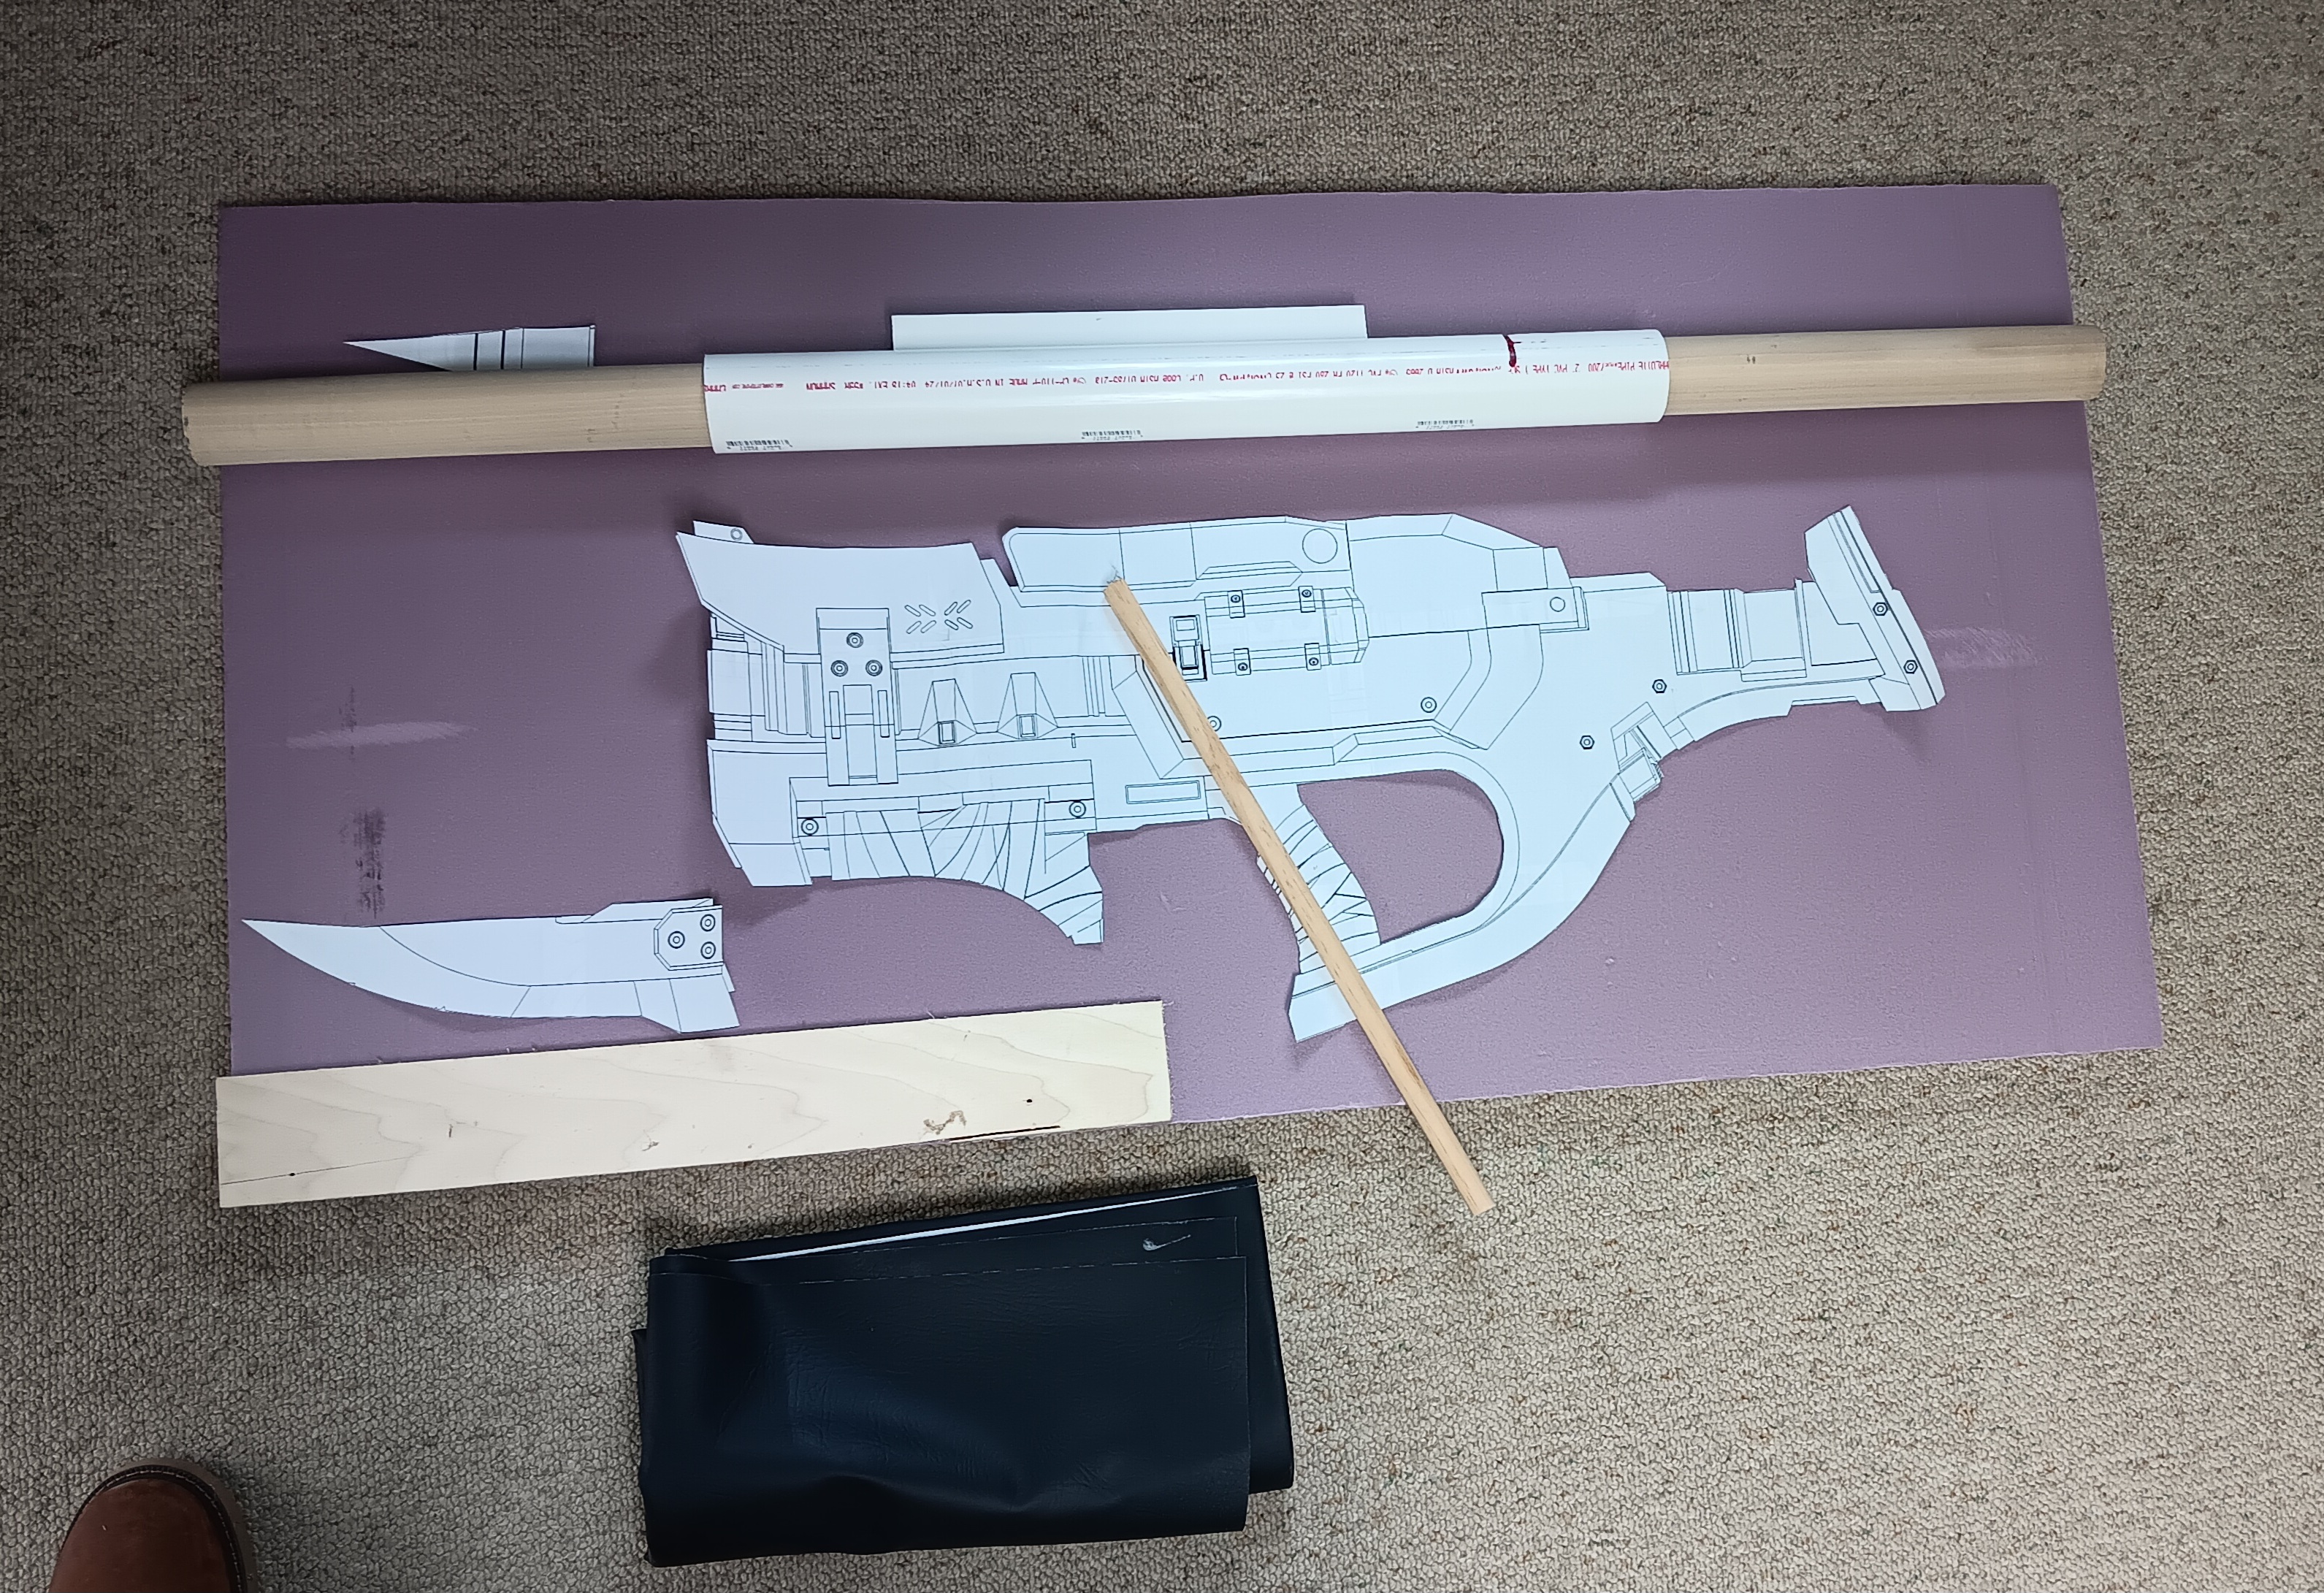
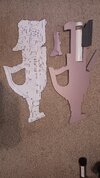
And so the build begins. the first part of the process is very straightforward. Trace out the outline of the main prop body and cut it out: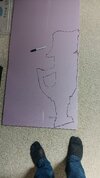
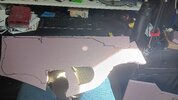
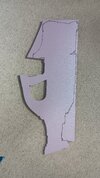
What we are left with is what essentially becomes the backbone of our prop: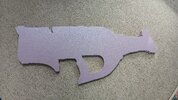
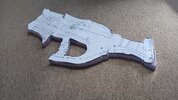
From here we begin a partial breakdown. Parts that need to be separated or removed to either be reattached after completion or replaced with alternate parts in the build process: In this case we remove the lower grip section, the breaching arm, a section of the upper cowl, and the main area where our tube will sit.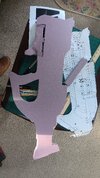
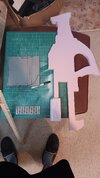
We cut down the PVC pipe and fit it in place and begin the build up process. (we also sand both handles for better comfort when holding our prop):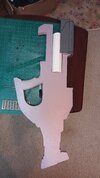
As we get further along with build up it is sometimes helpful to trace a part layout directly from our main full-size printout onto our prop so that we don’t make a mistake on a part add. and you can see that here: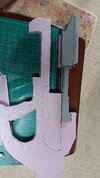
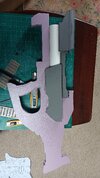
As we continue we cut down another section from the rear of the prop for our false “telescoping” shoulder brace. this was held off to better maintain prop integrity until I had the part to insert in the cutout section. I also continue to build-up in a sector-by-sector manner: (I also milled down the dowel rod to create our spike for this prop.)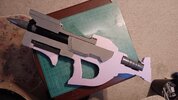
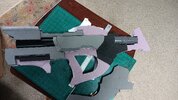
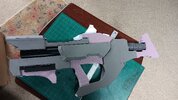
As the build progresses it is sometimes necessary to sand or cut down parts before adding others: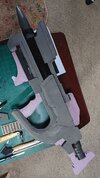
Now we arrive at the most satisfying part of the build. at 85% or better prop completion, it is very easy to both identify what our prop is as well as play around with the “feel” of the prop. At this point, I recognize that the prop will be largely front-heavy but in a satisfying and “hefty” way. 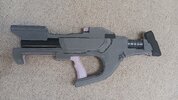
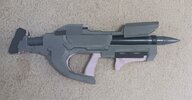
I can now get down to that last 15% of detail work.
The handle wraps: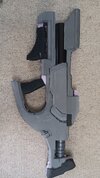
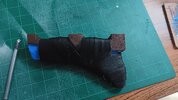
The breaching arm: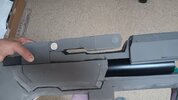
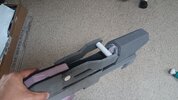
With these two parts added I now sit at a comfortable 90% completion but am at a crossroads stage of the build. For those who have never worked with Polystyrene. it cannot be spray painted, as it will dissolve. so to counter this we must first apply a protective coating of acrylic paint to any and all exposed polystyrene. 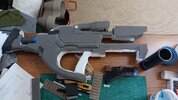
With this done we can then add our last few remaining details
The tube supports and vents: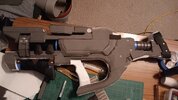
the “scope” or sight: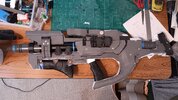
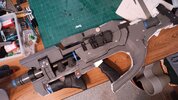
And now the build section is 100% complete. and we move on to paint. for this process I forgot to remove the grip wraps so that they remain clean during the painting process and ended up needing to re-wrap both grips after the painting because the vinyl became sticky after coming into contact with the cleat coat.
We start with a quick application of plasti-dip and a primer layer. Then we paint our blacks and grays. 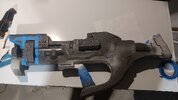
We also finish our front (bayonet?) at this process: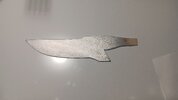
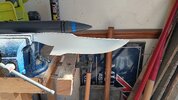
This then leaves us with a finished and un-weathered prop:
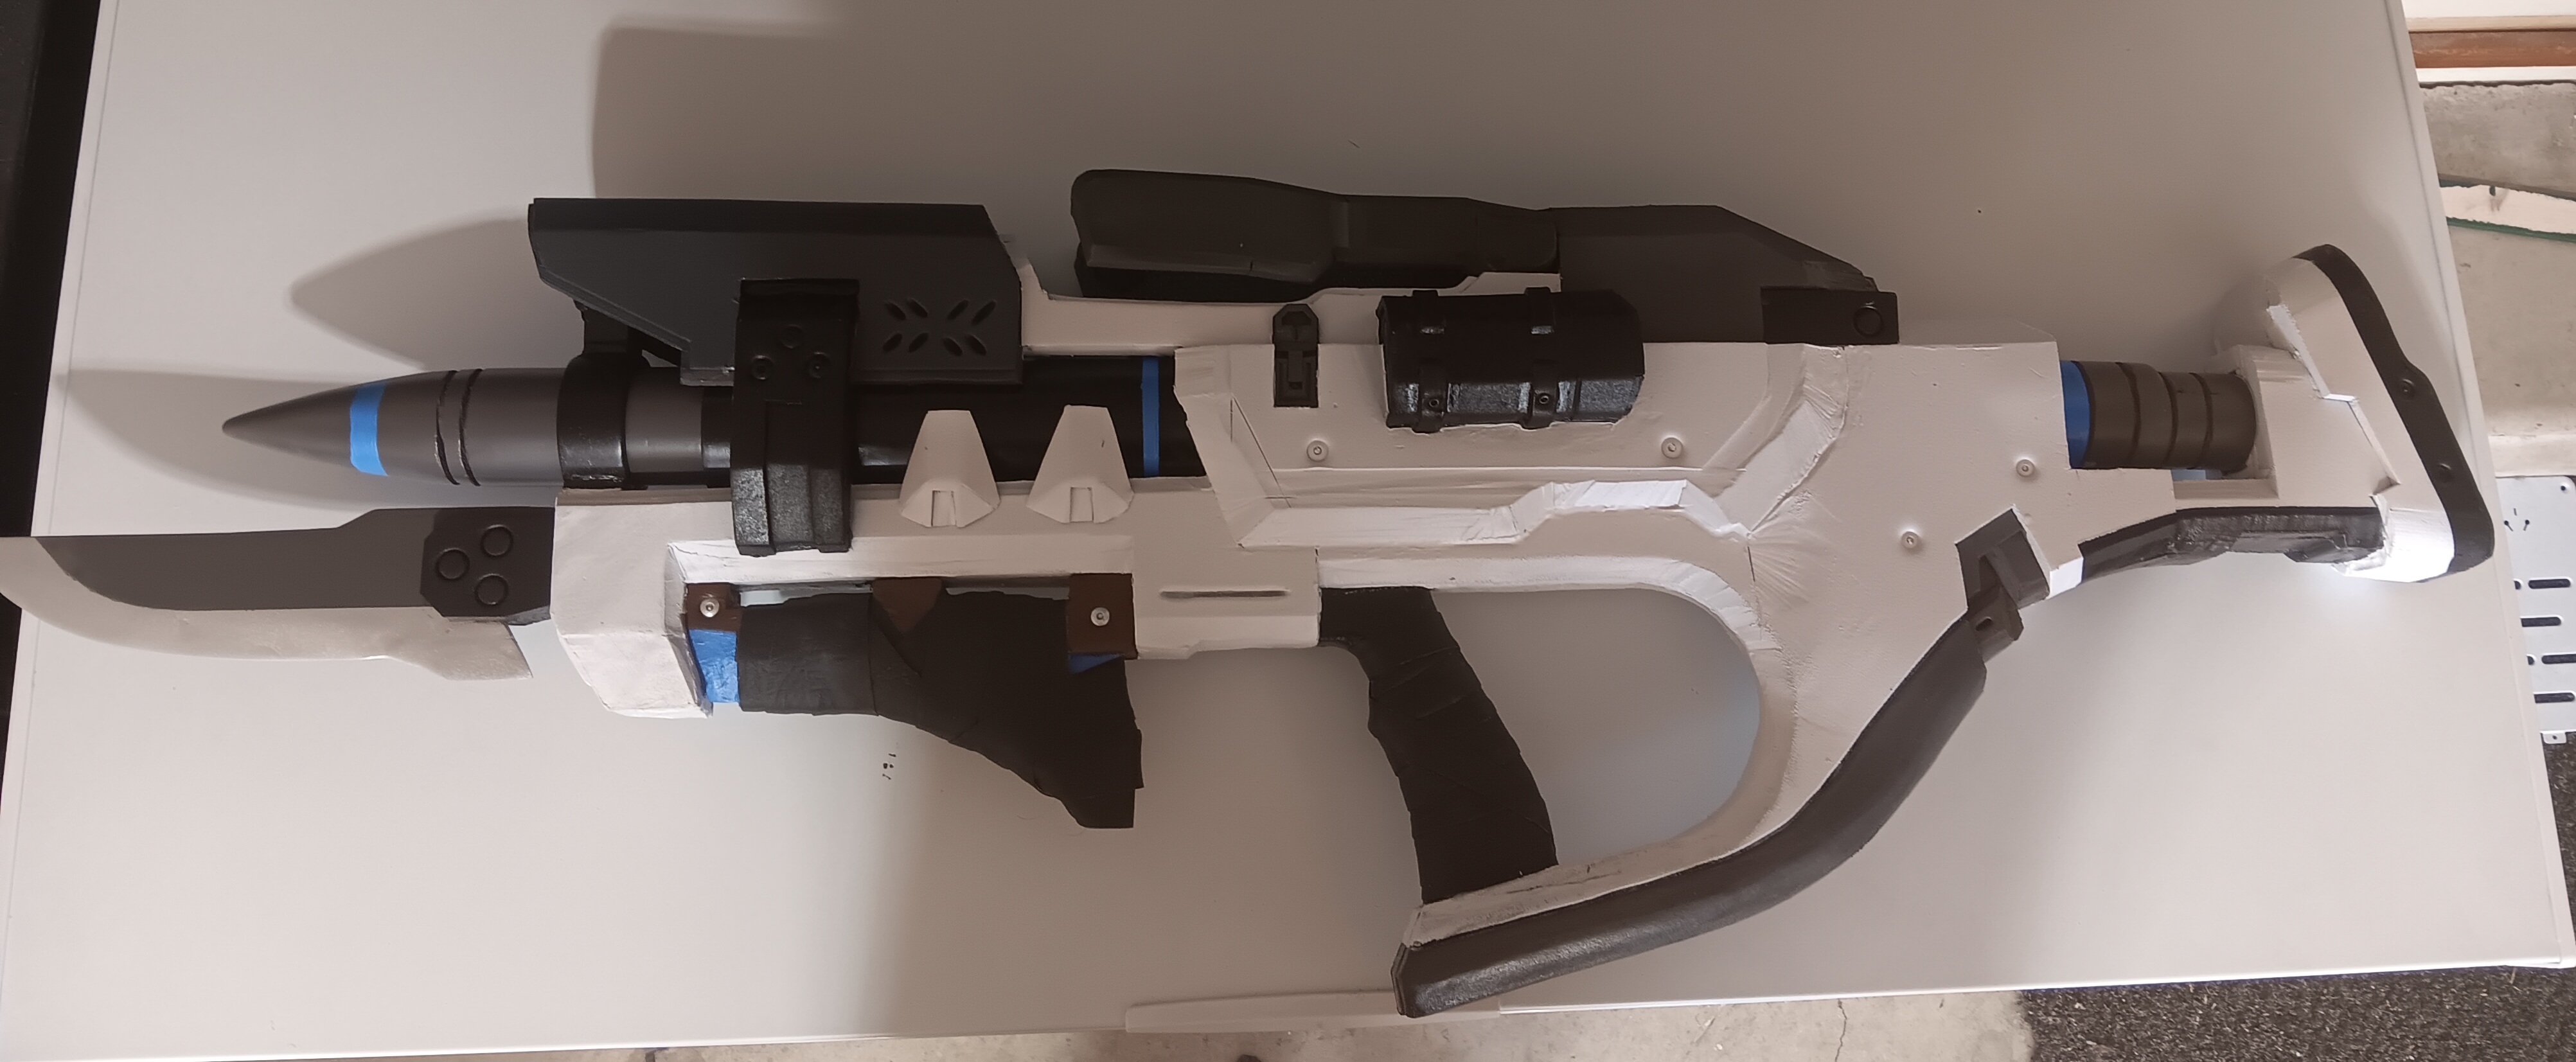
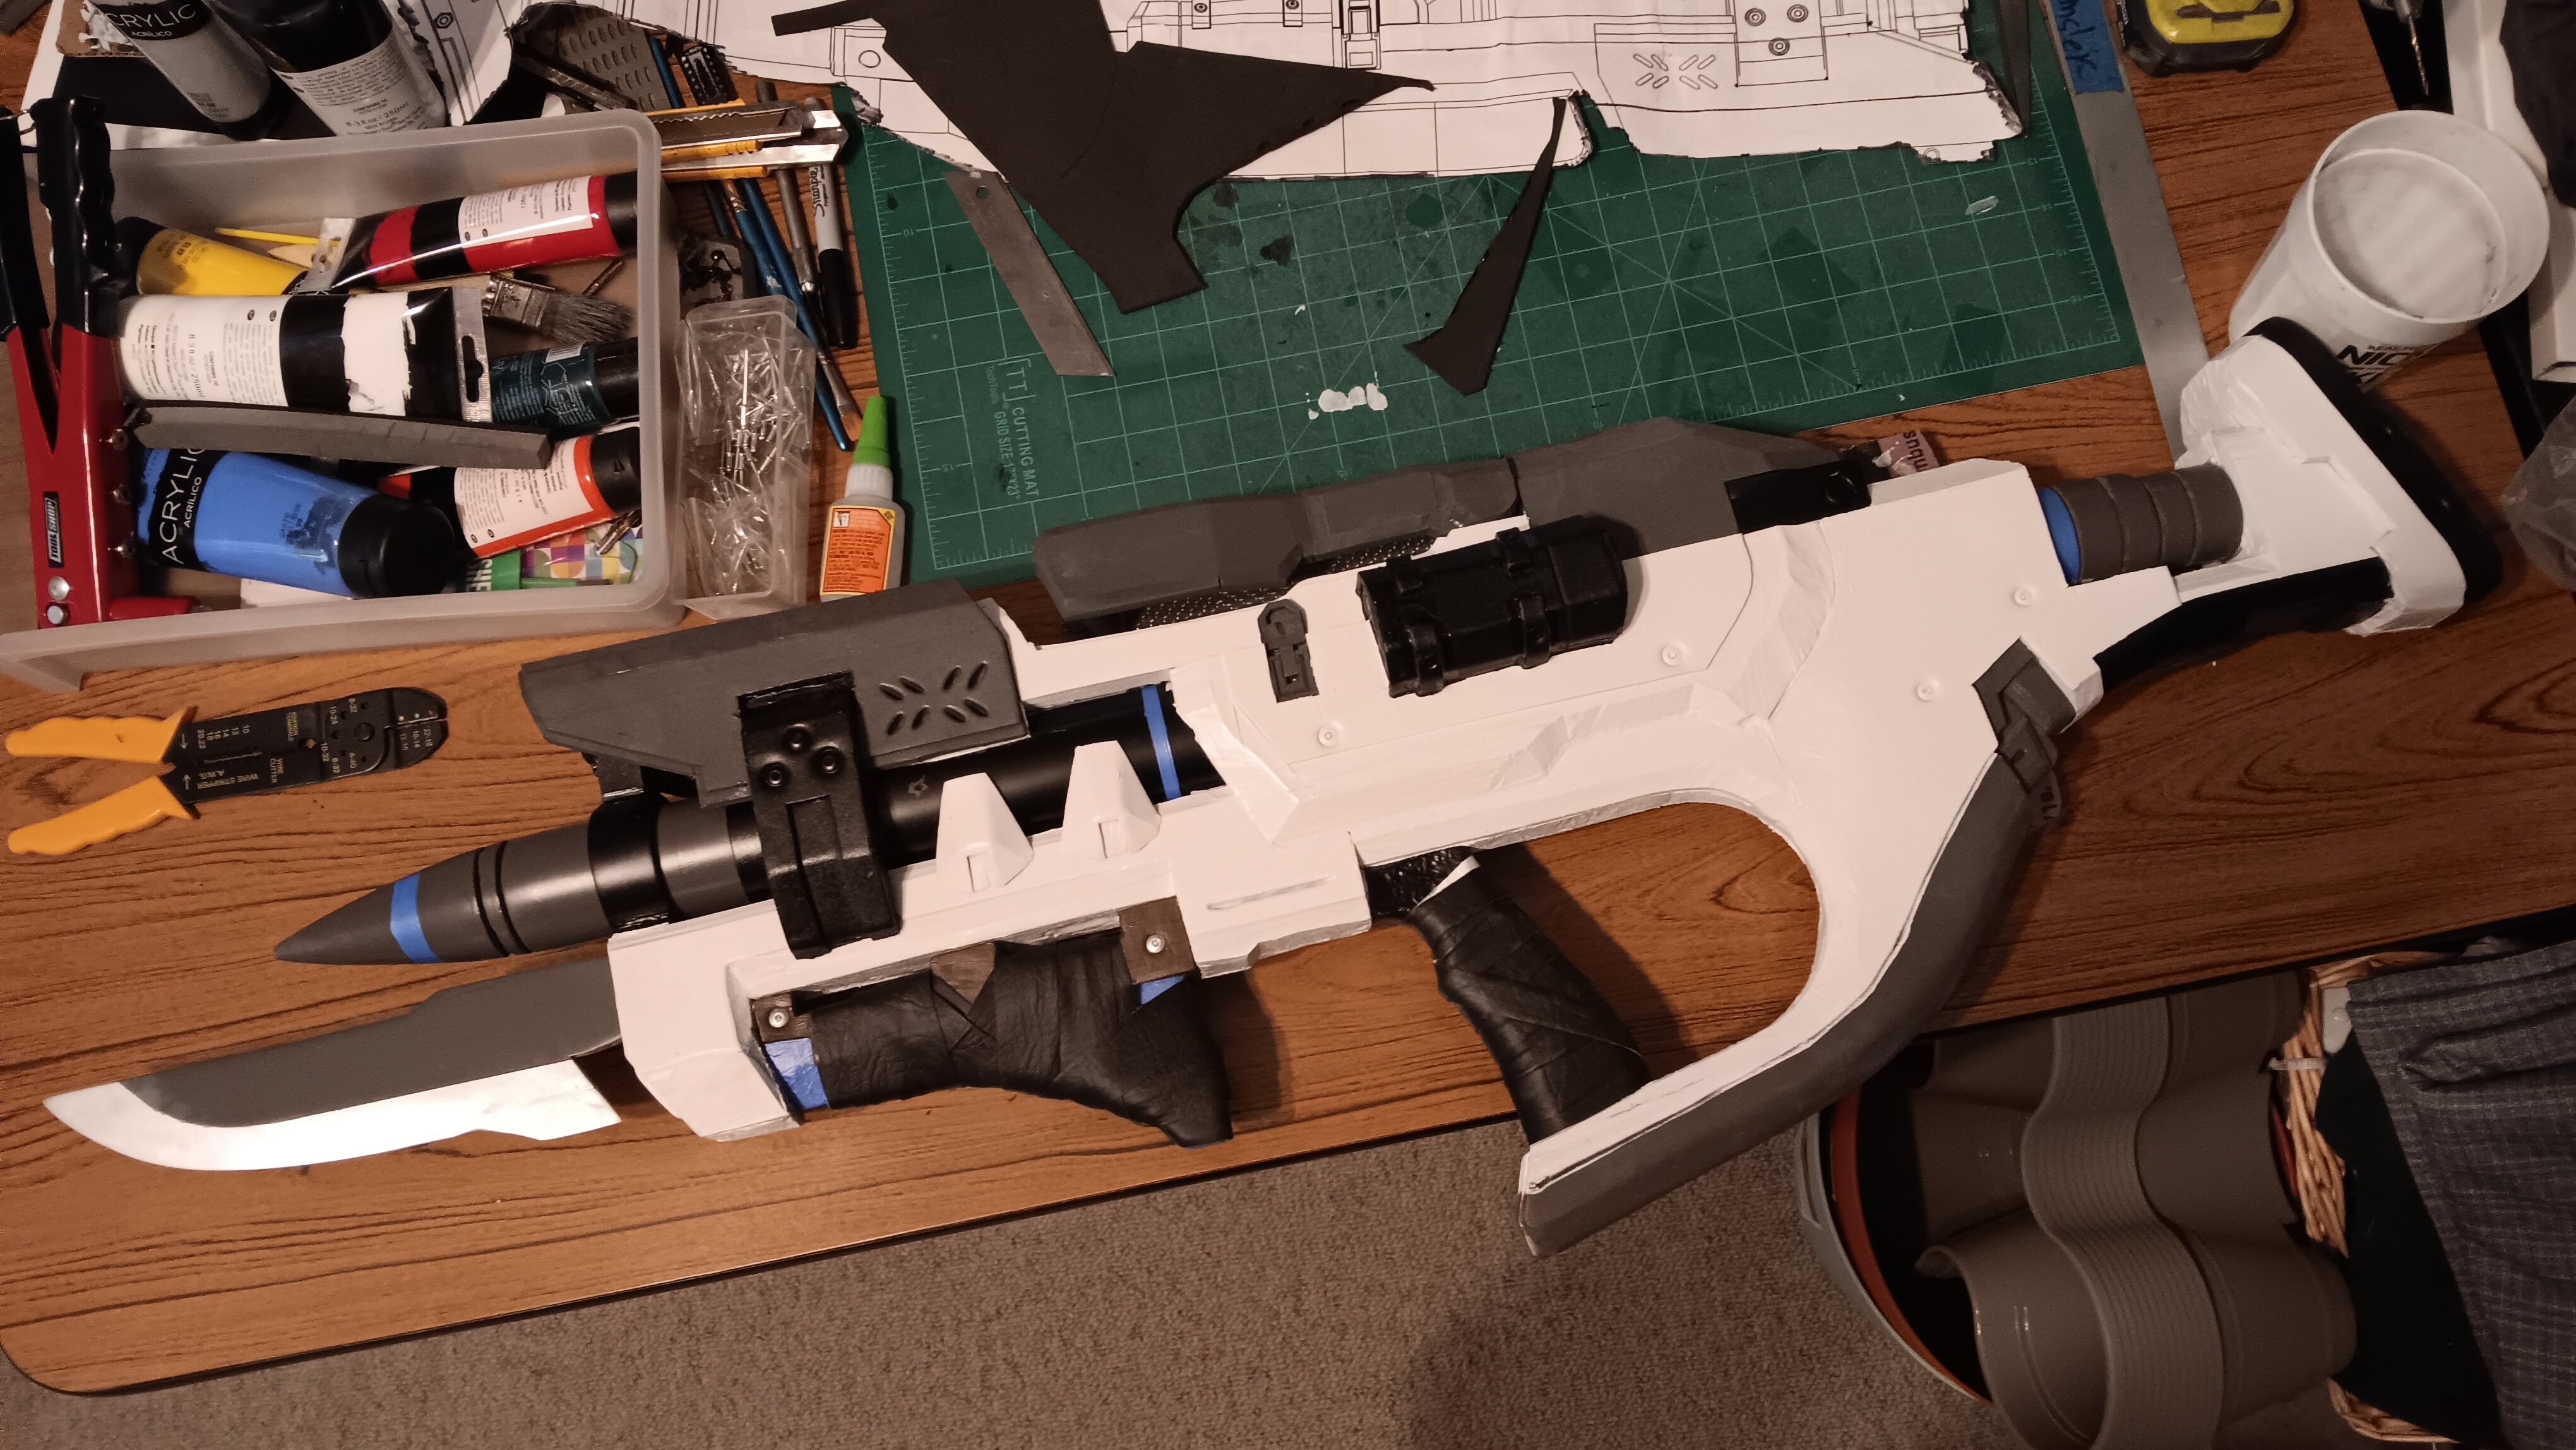
Add some weathering and our prop is complete:
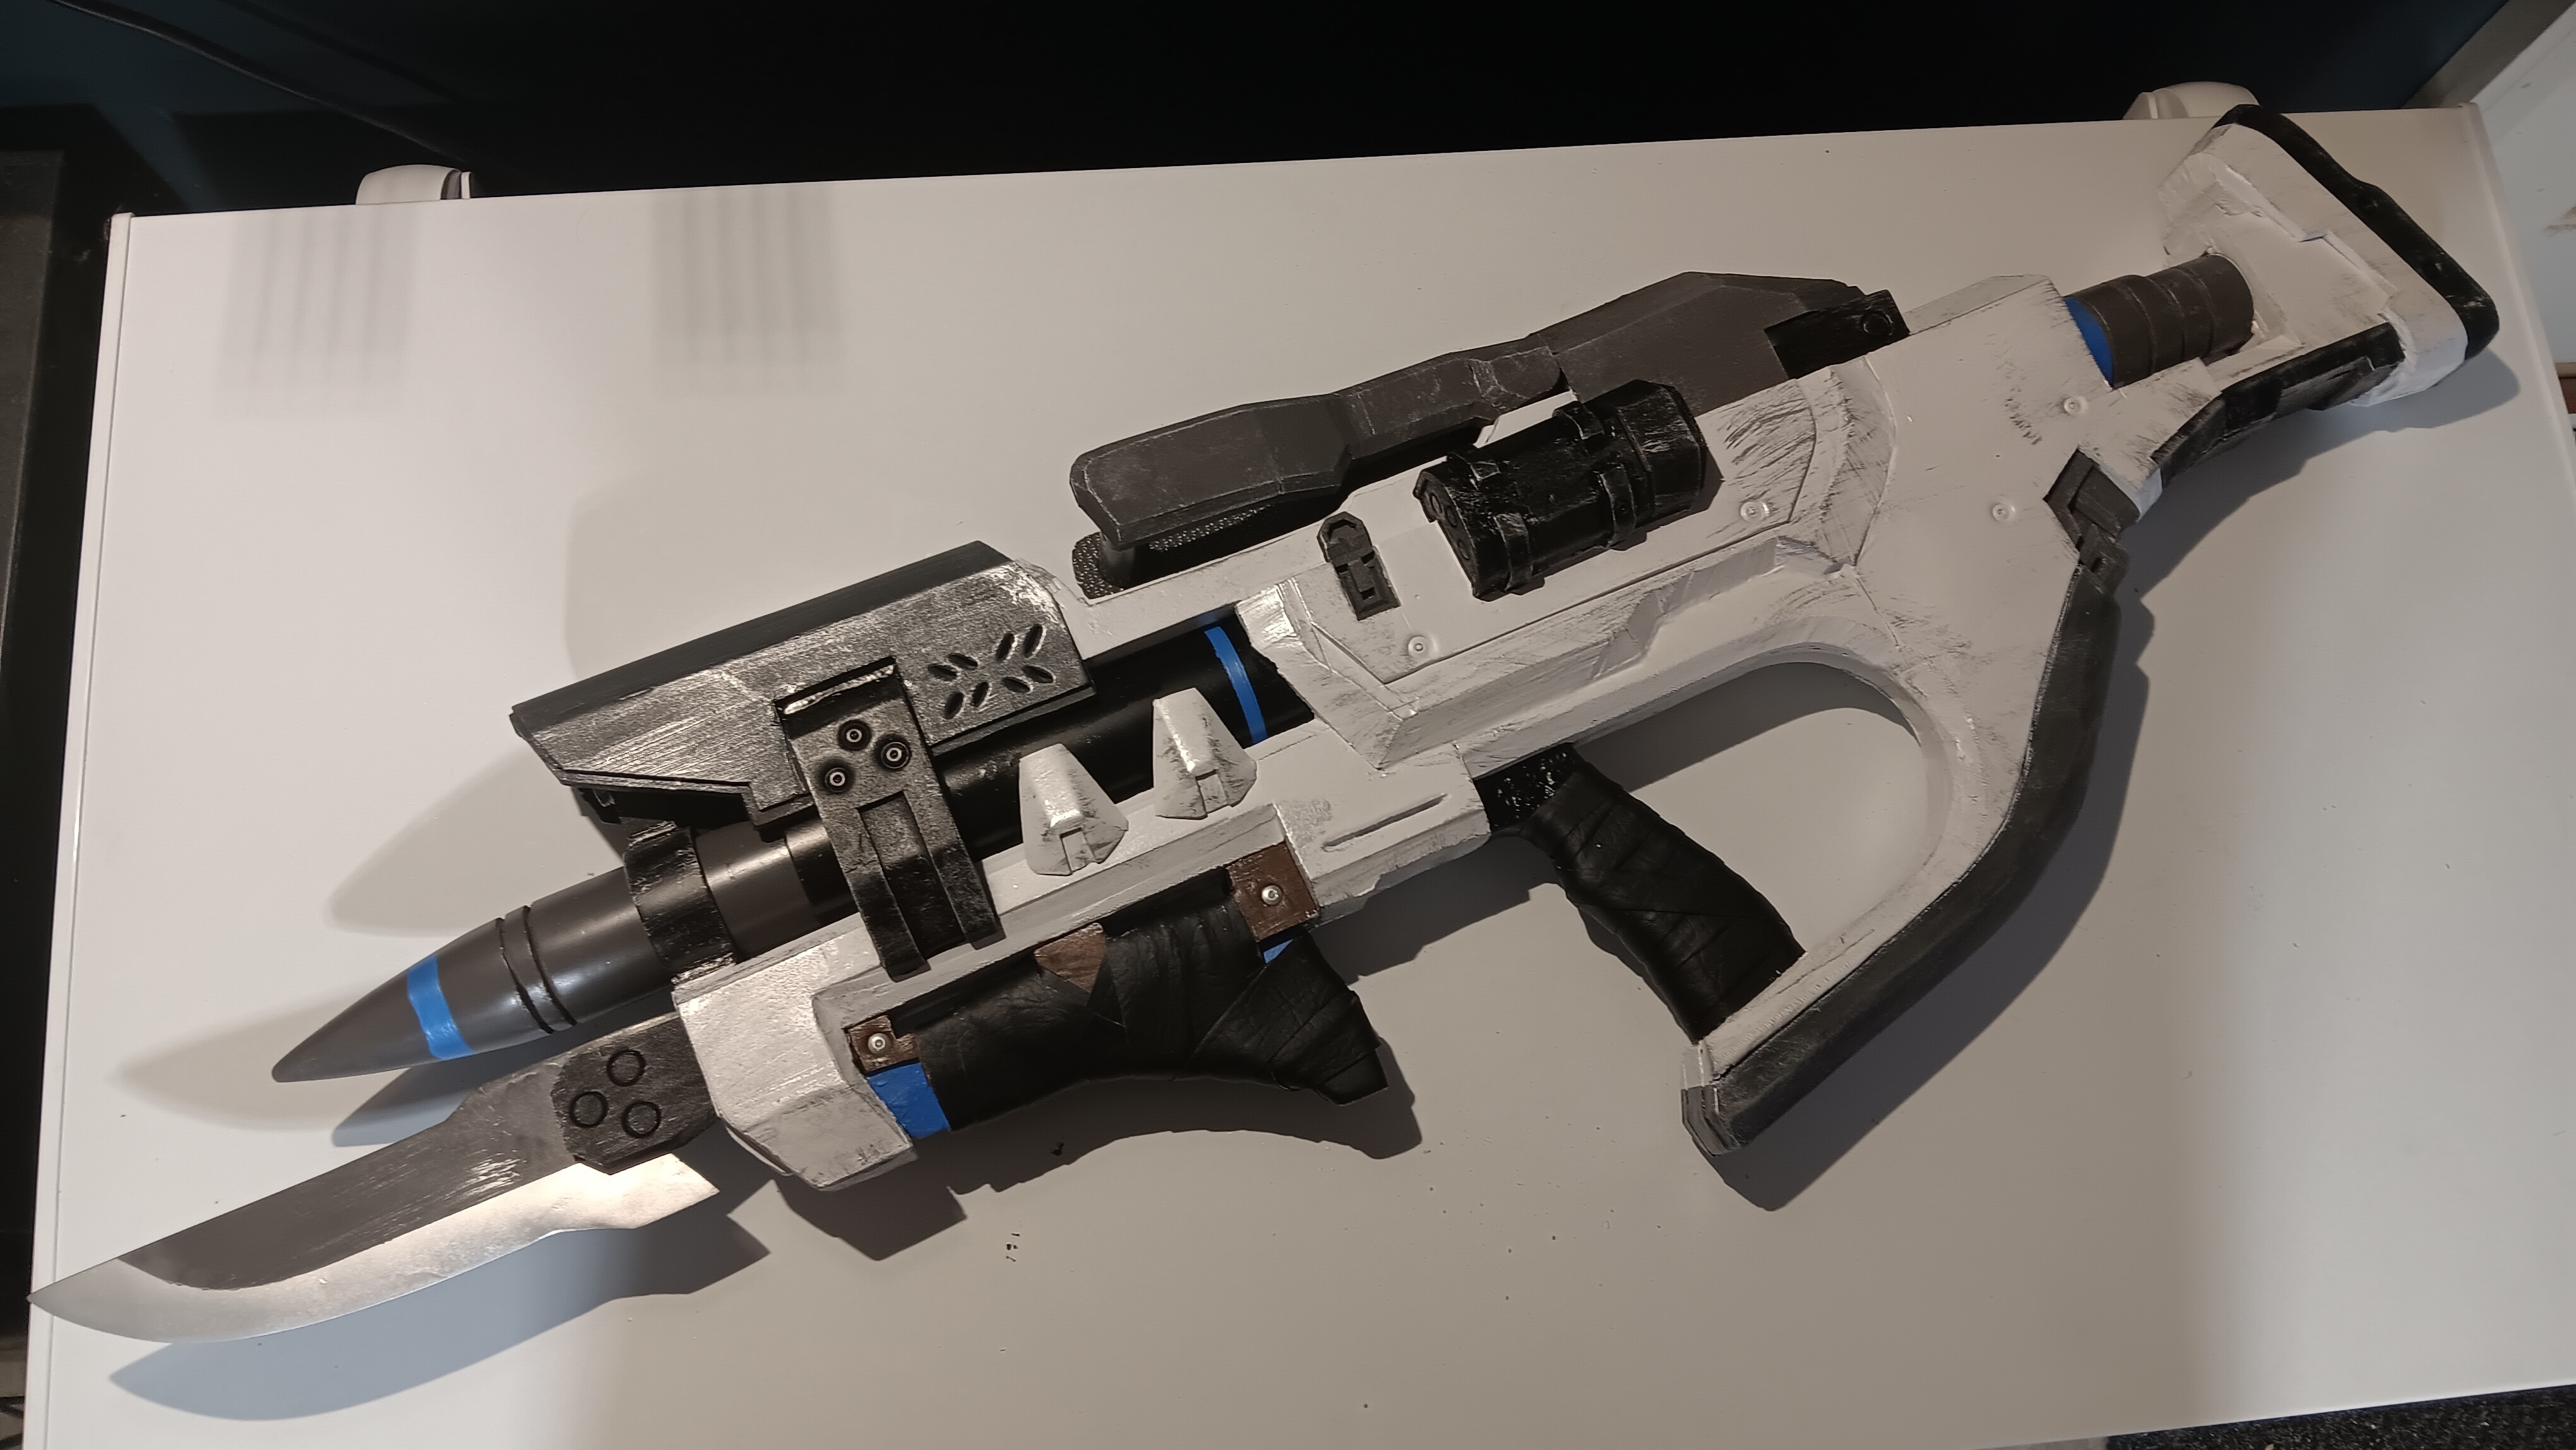
And that concludes the build.
But obviously, I needed to have some fun with it before sending it out so after a suit up and some time in the backyard, the prop has been put through a small run of poses and size comparisons and feels very satisfying to lug around.
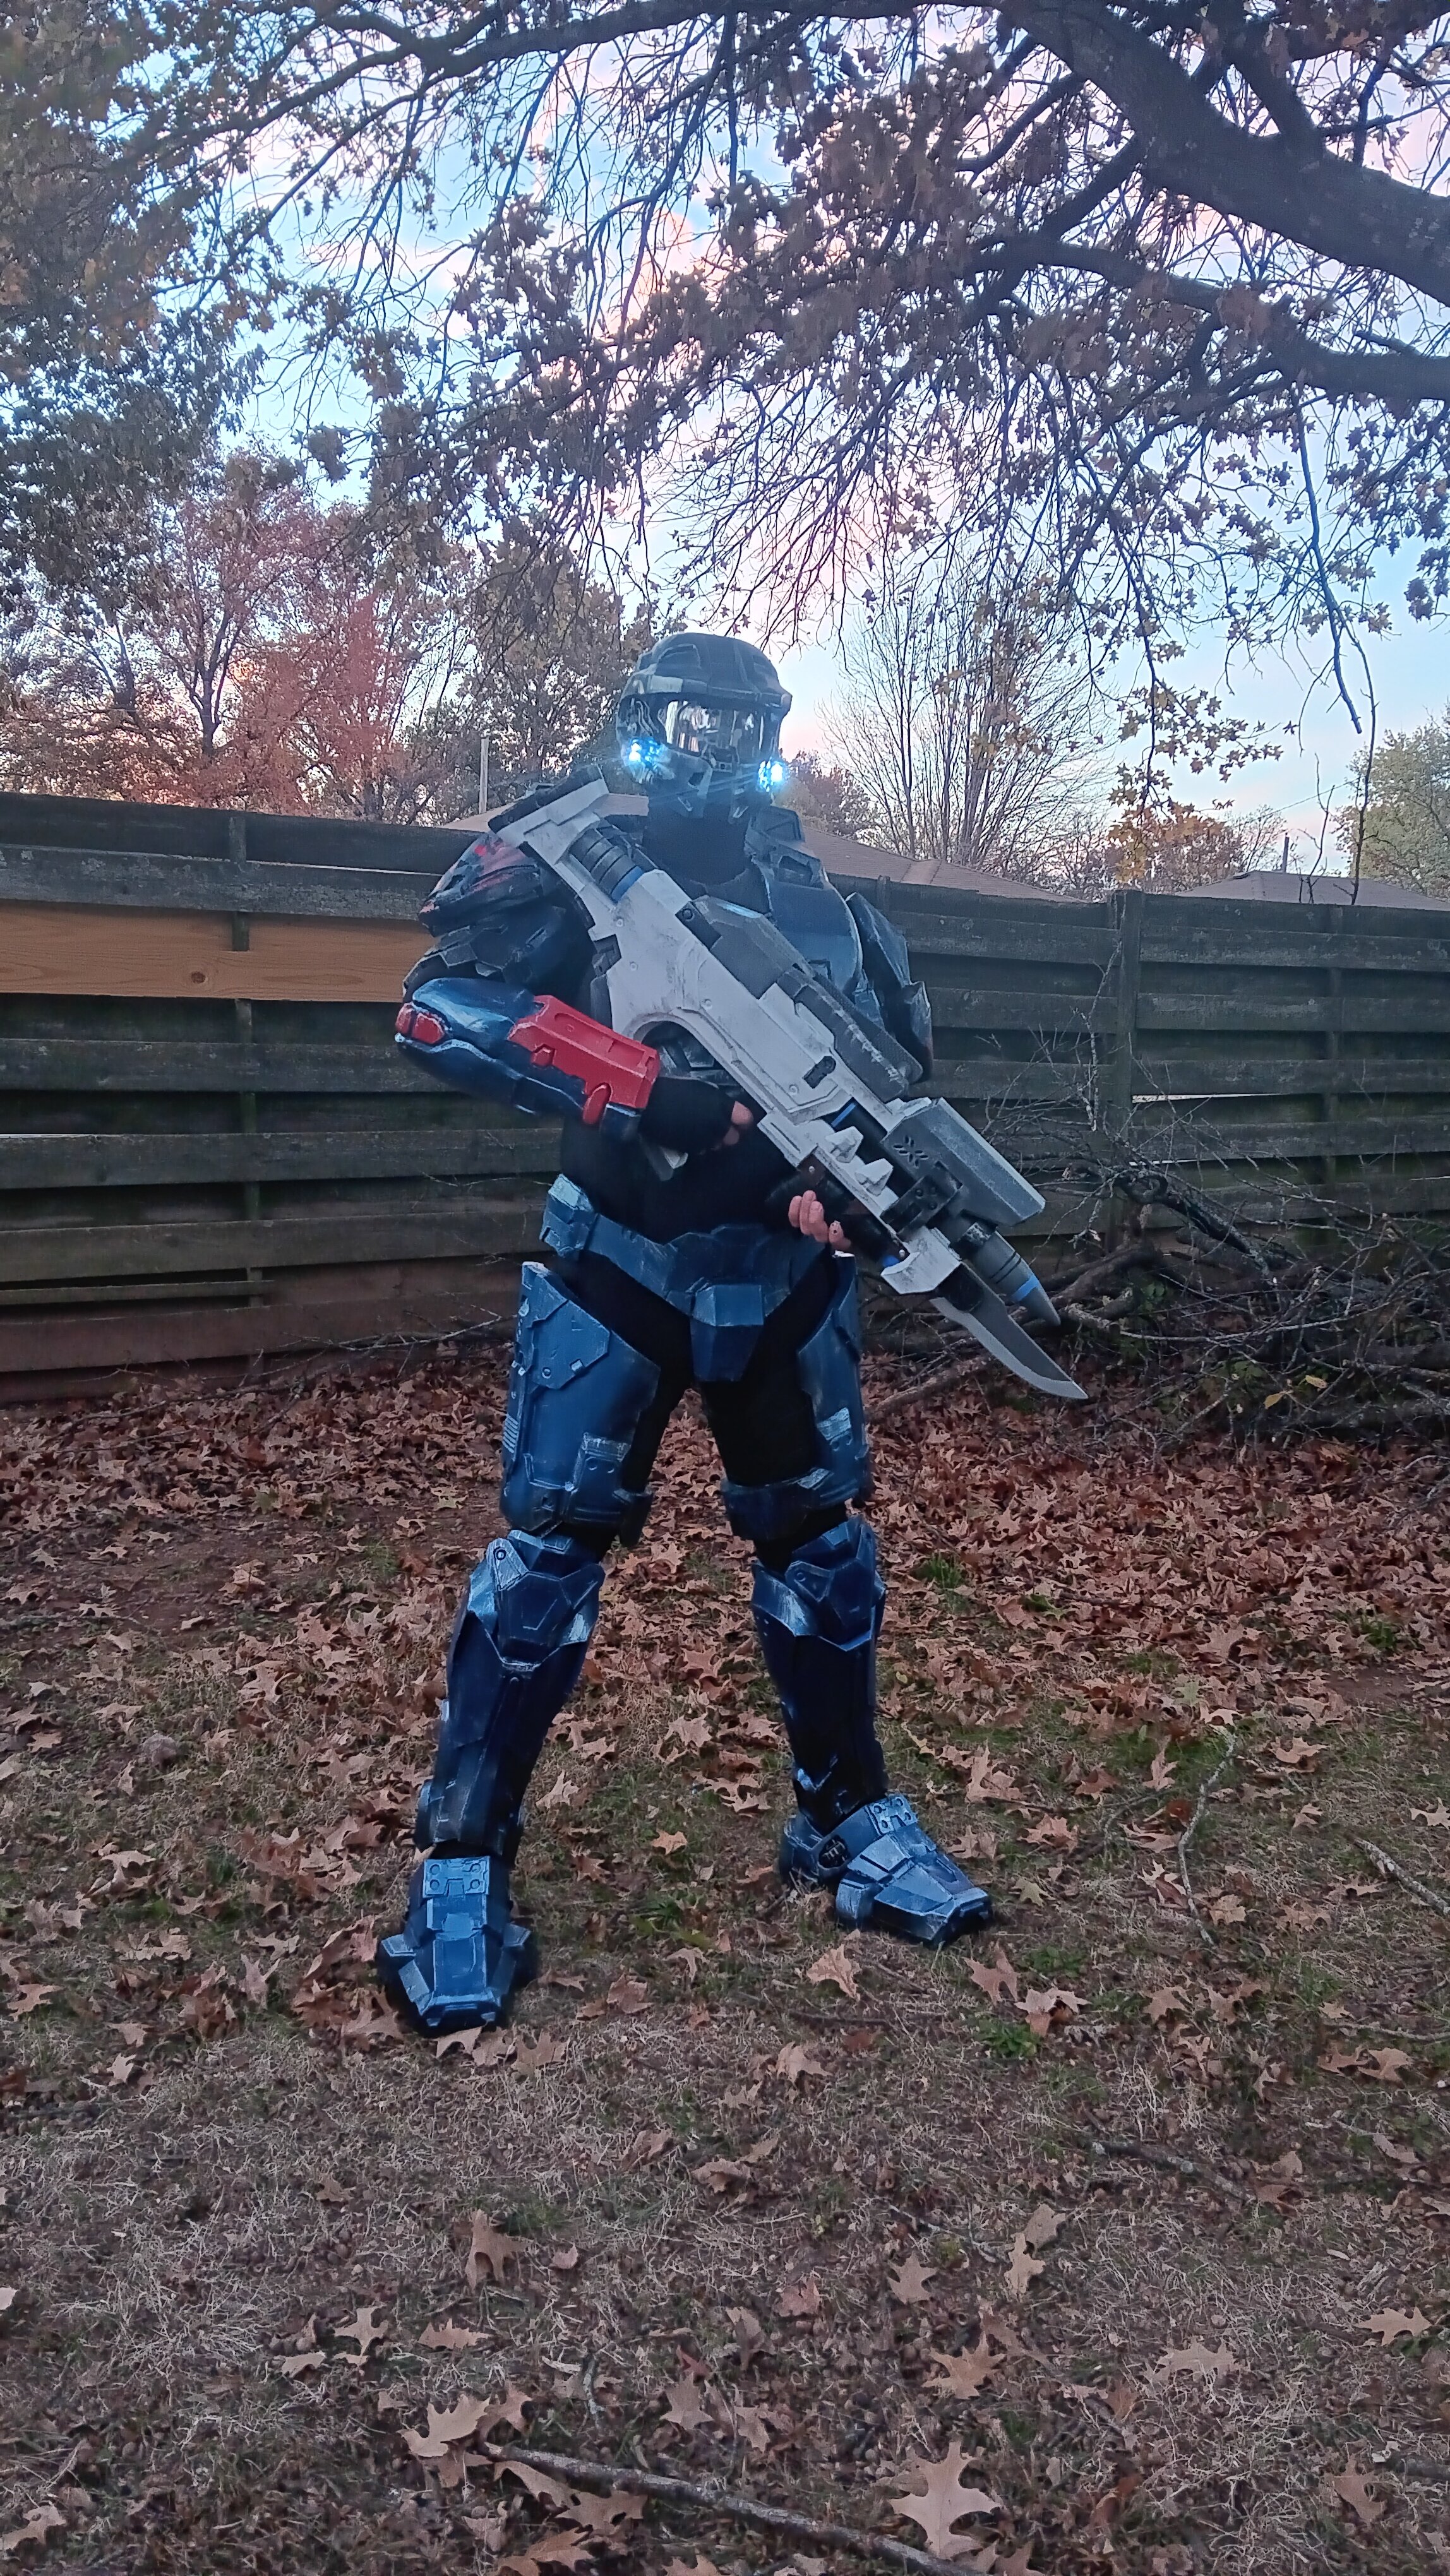
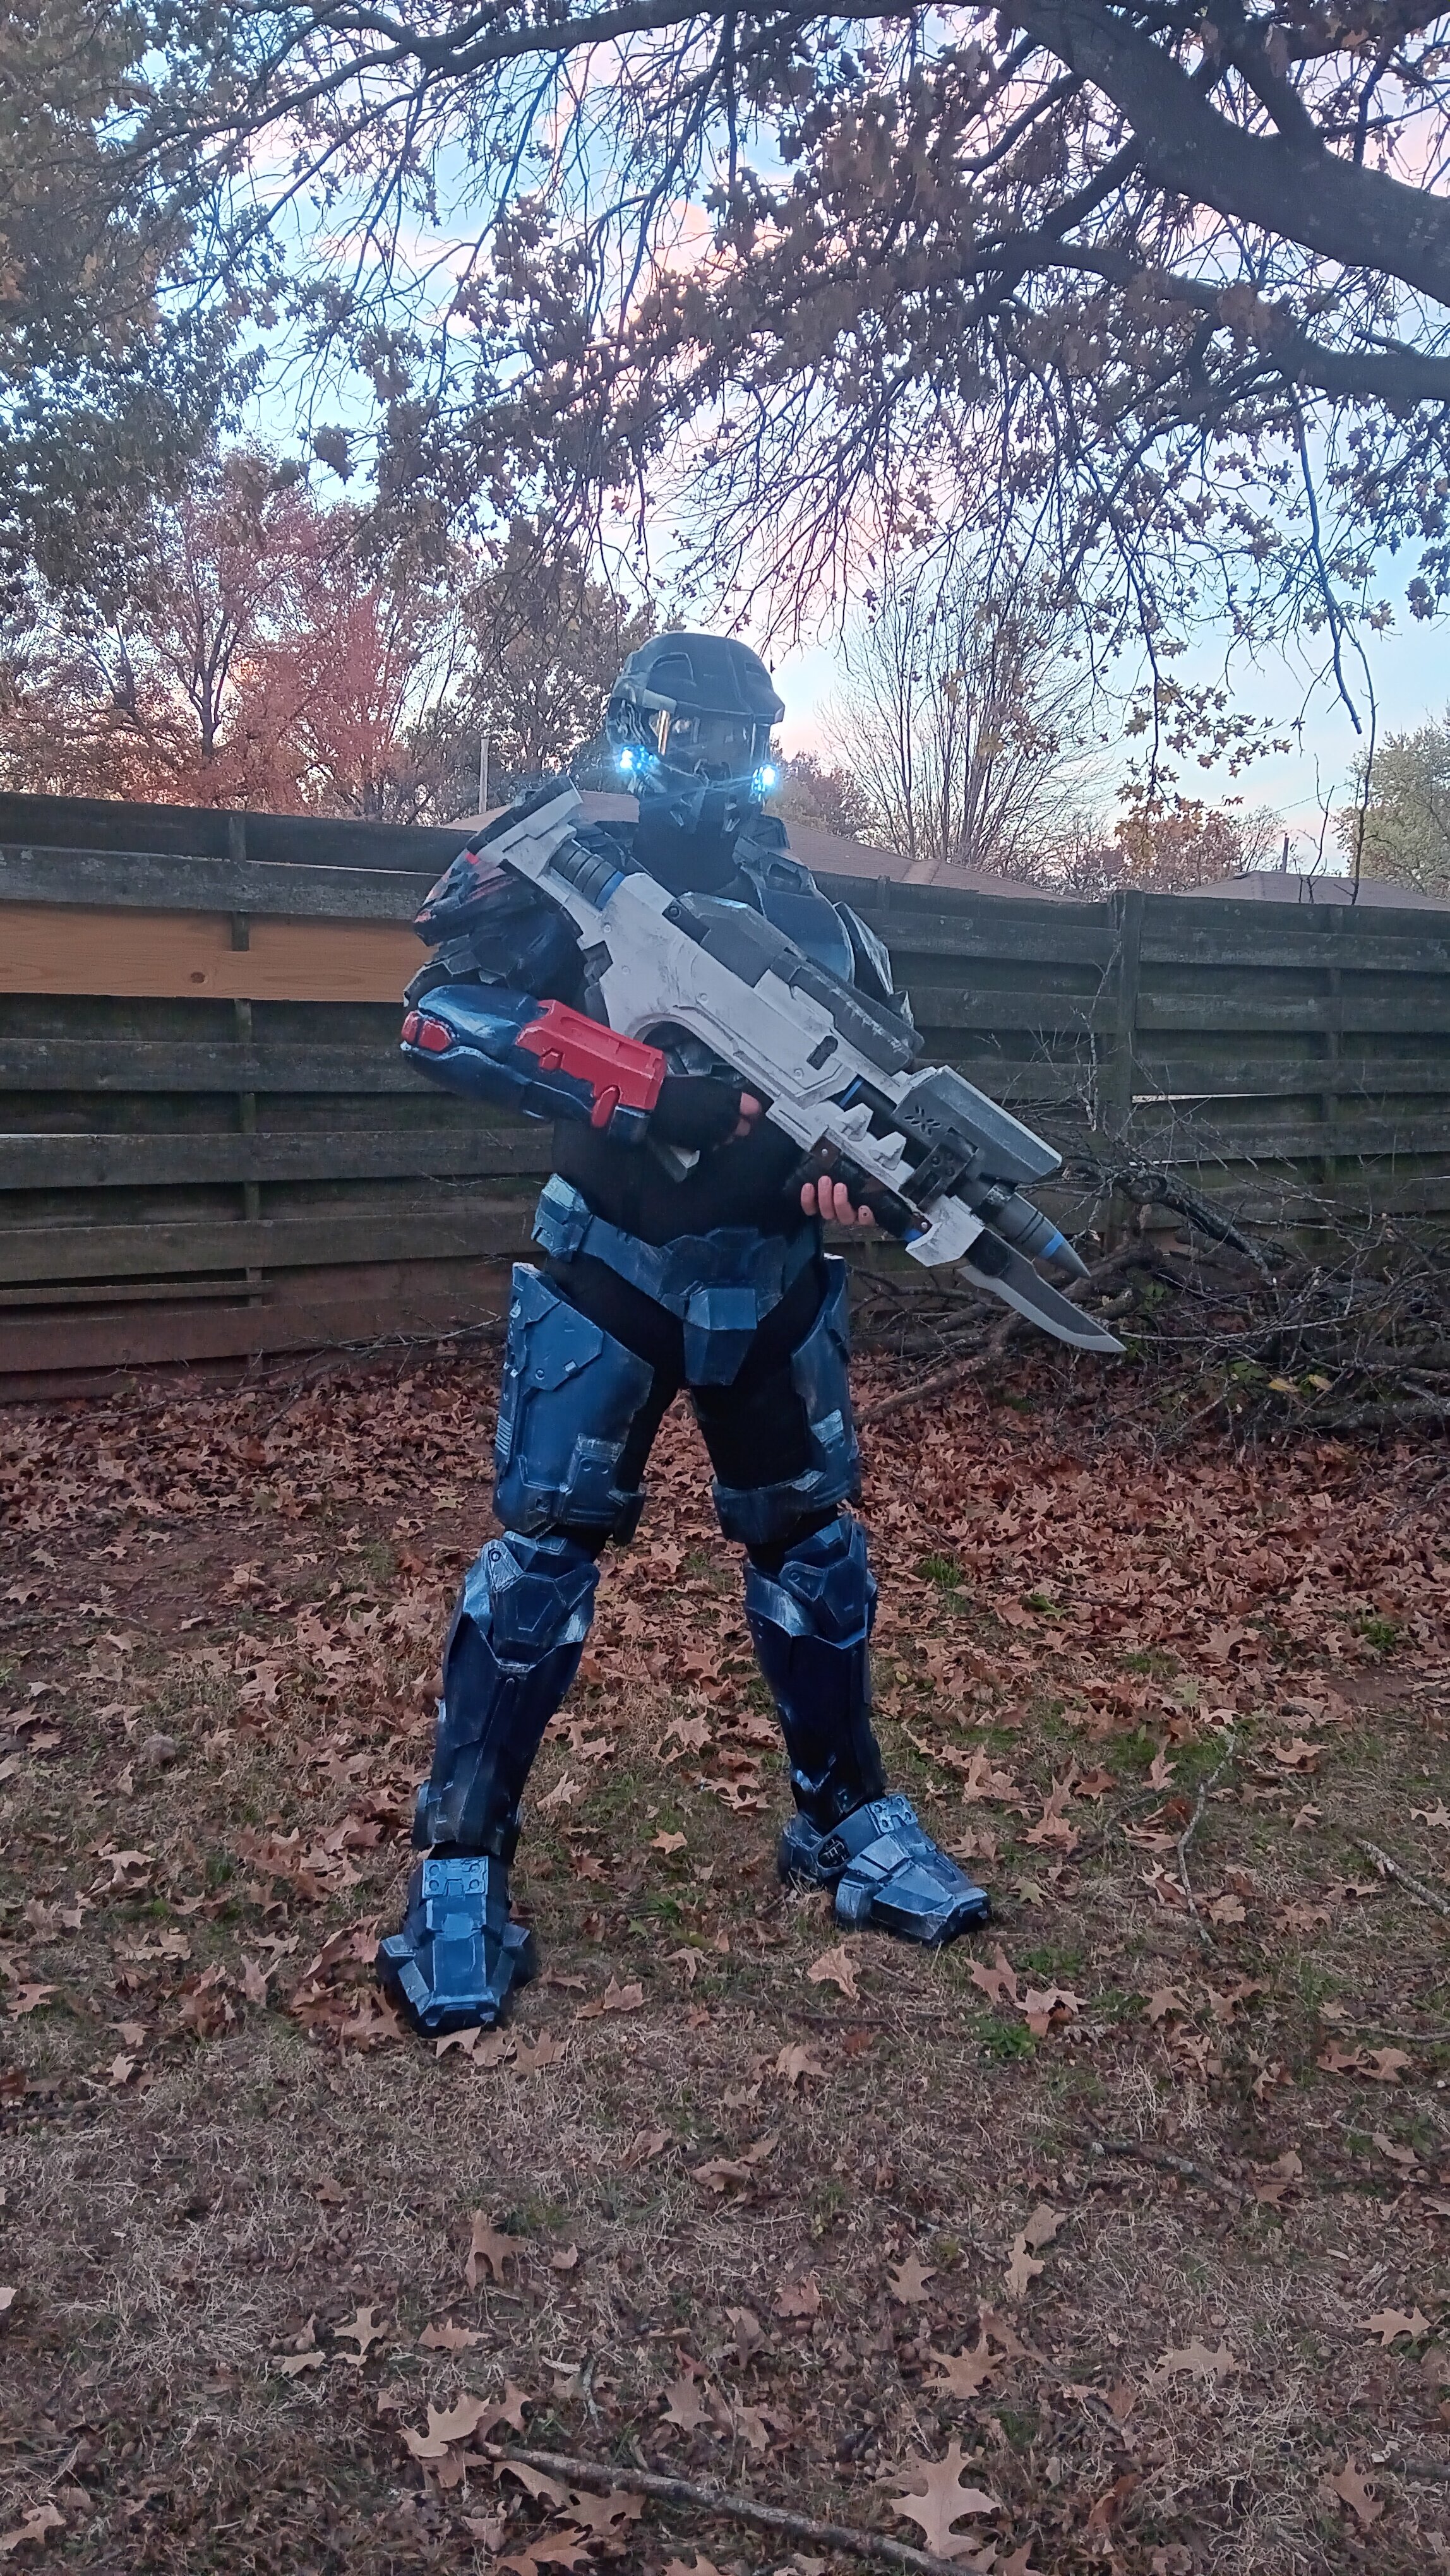
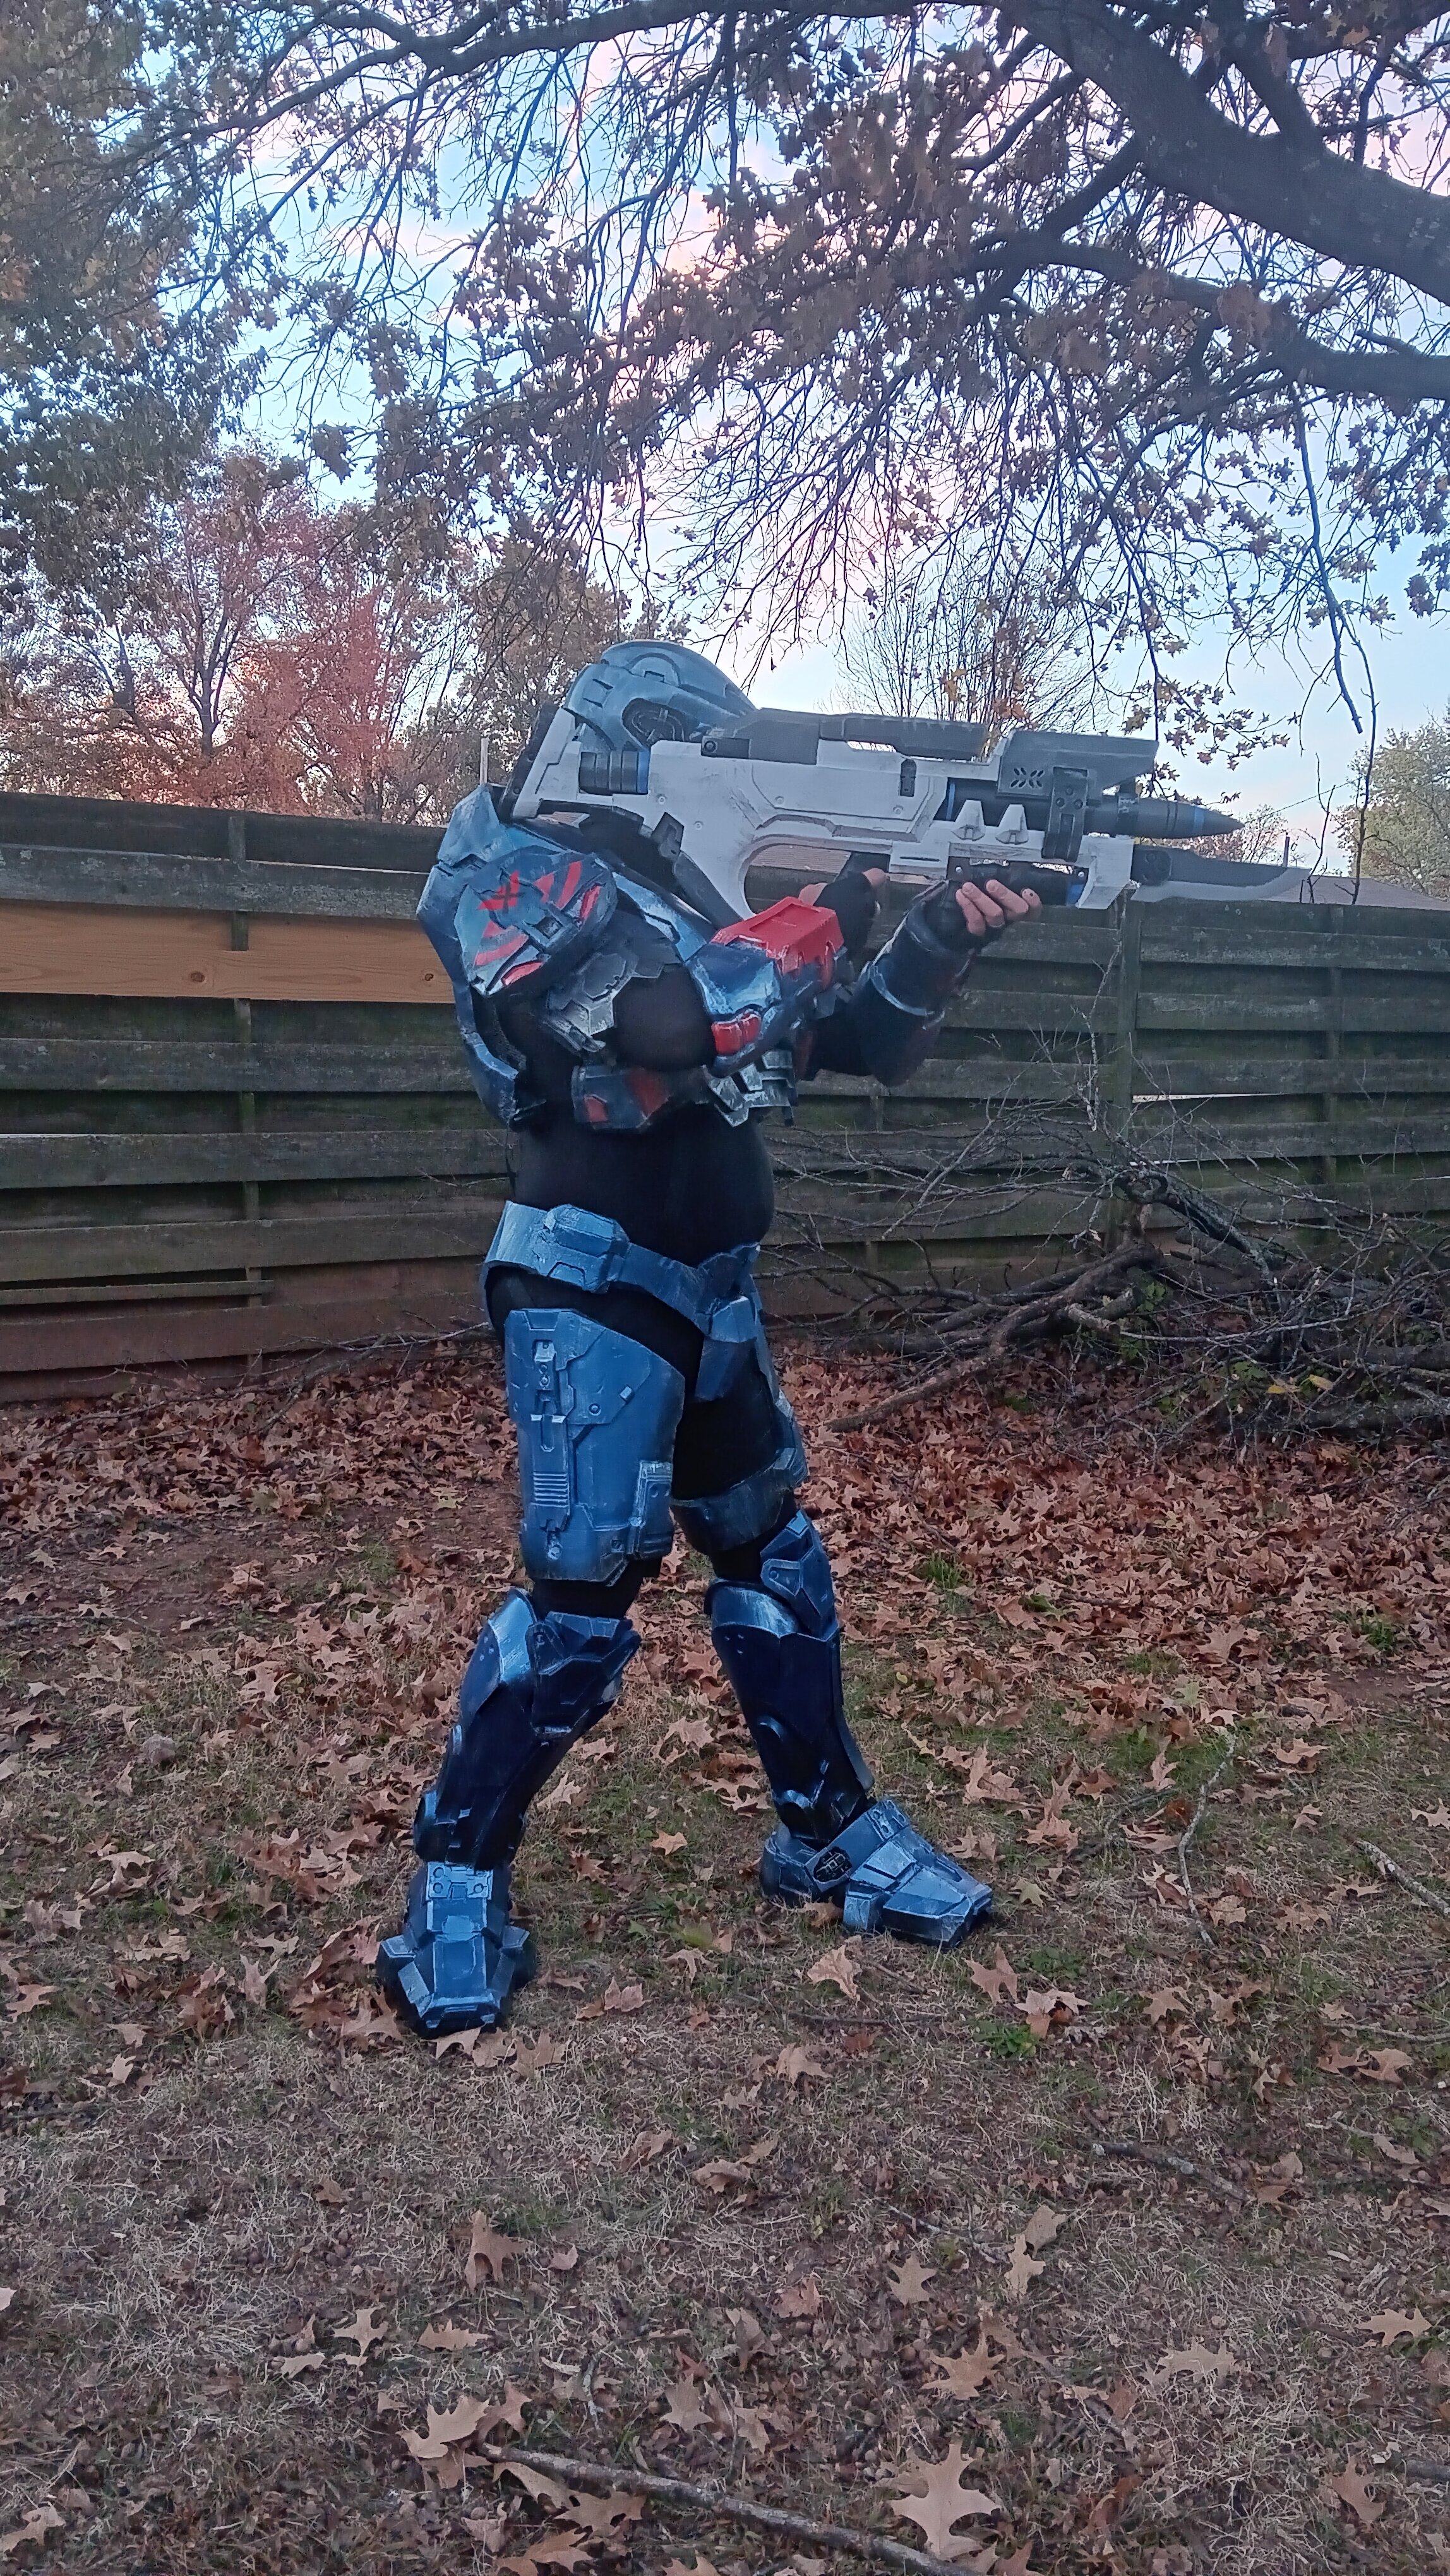
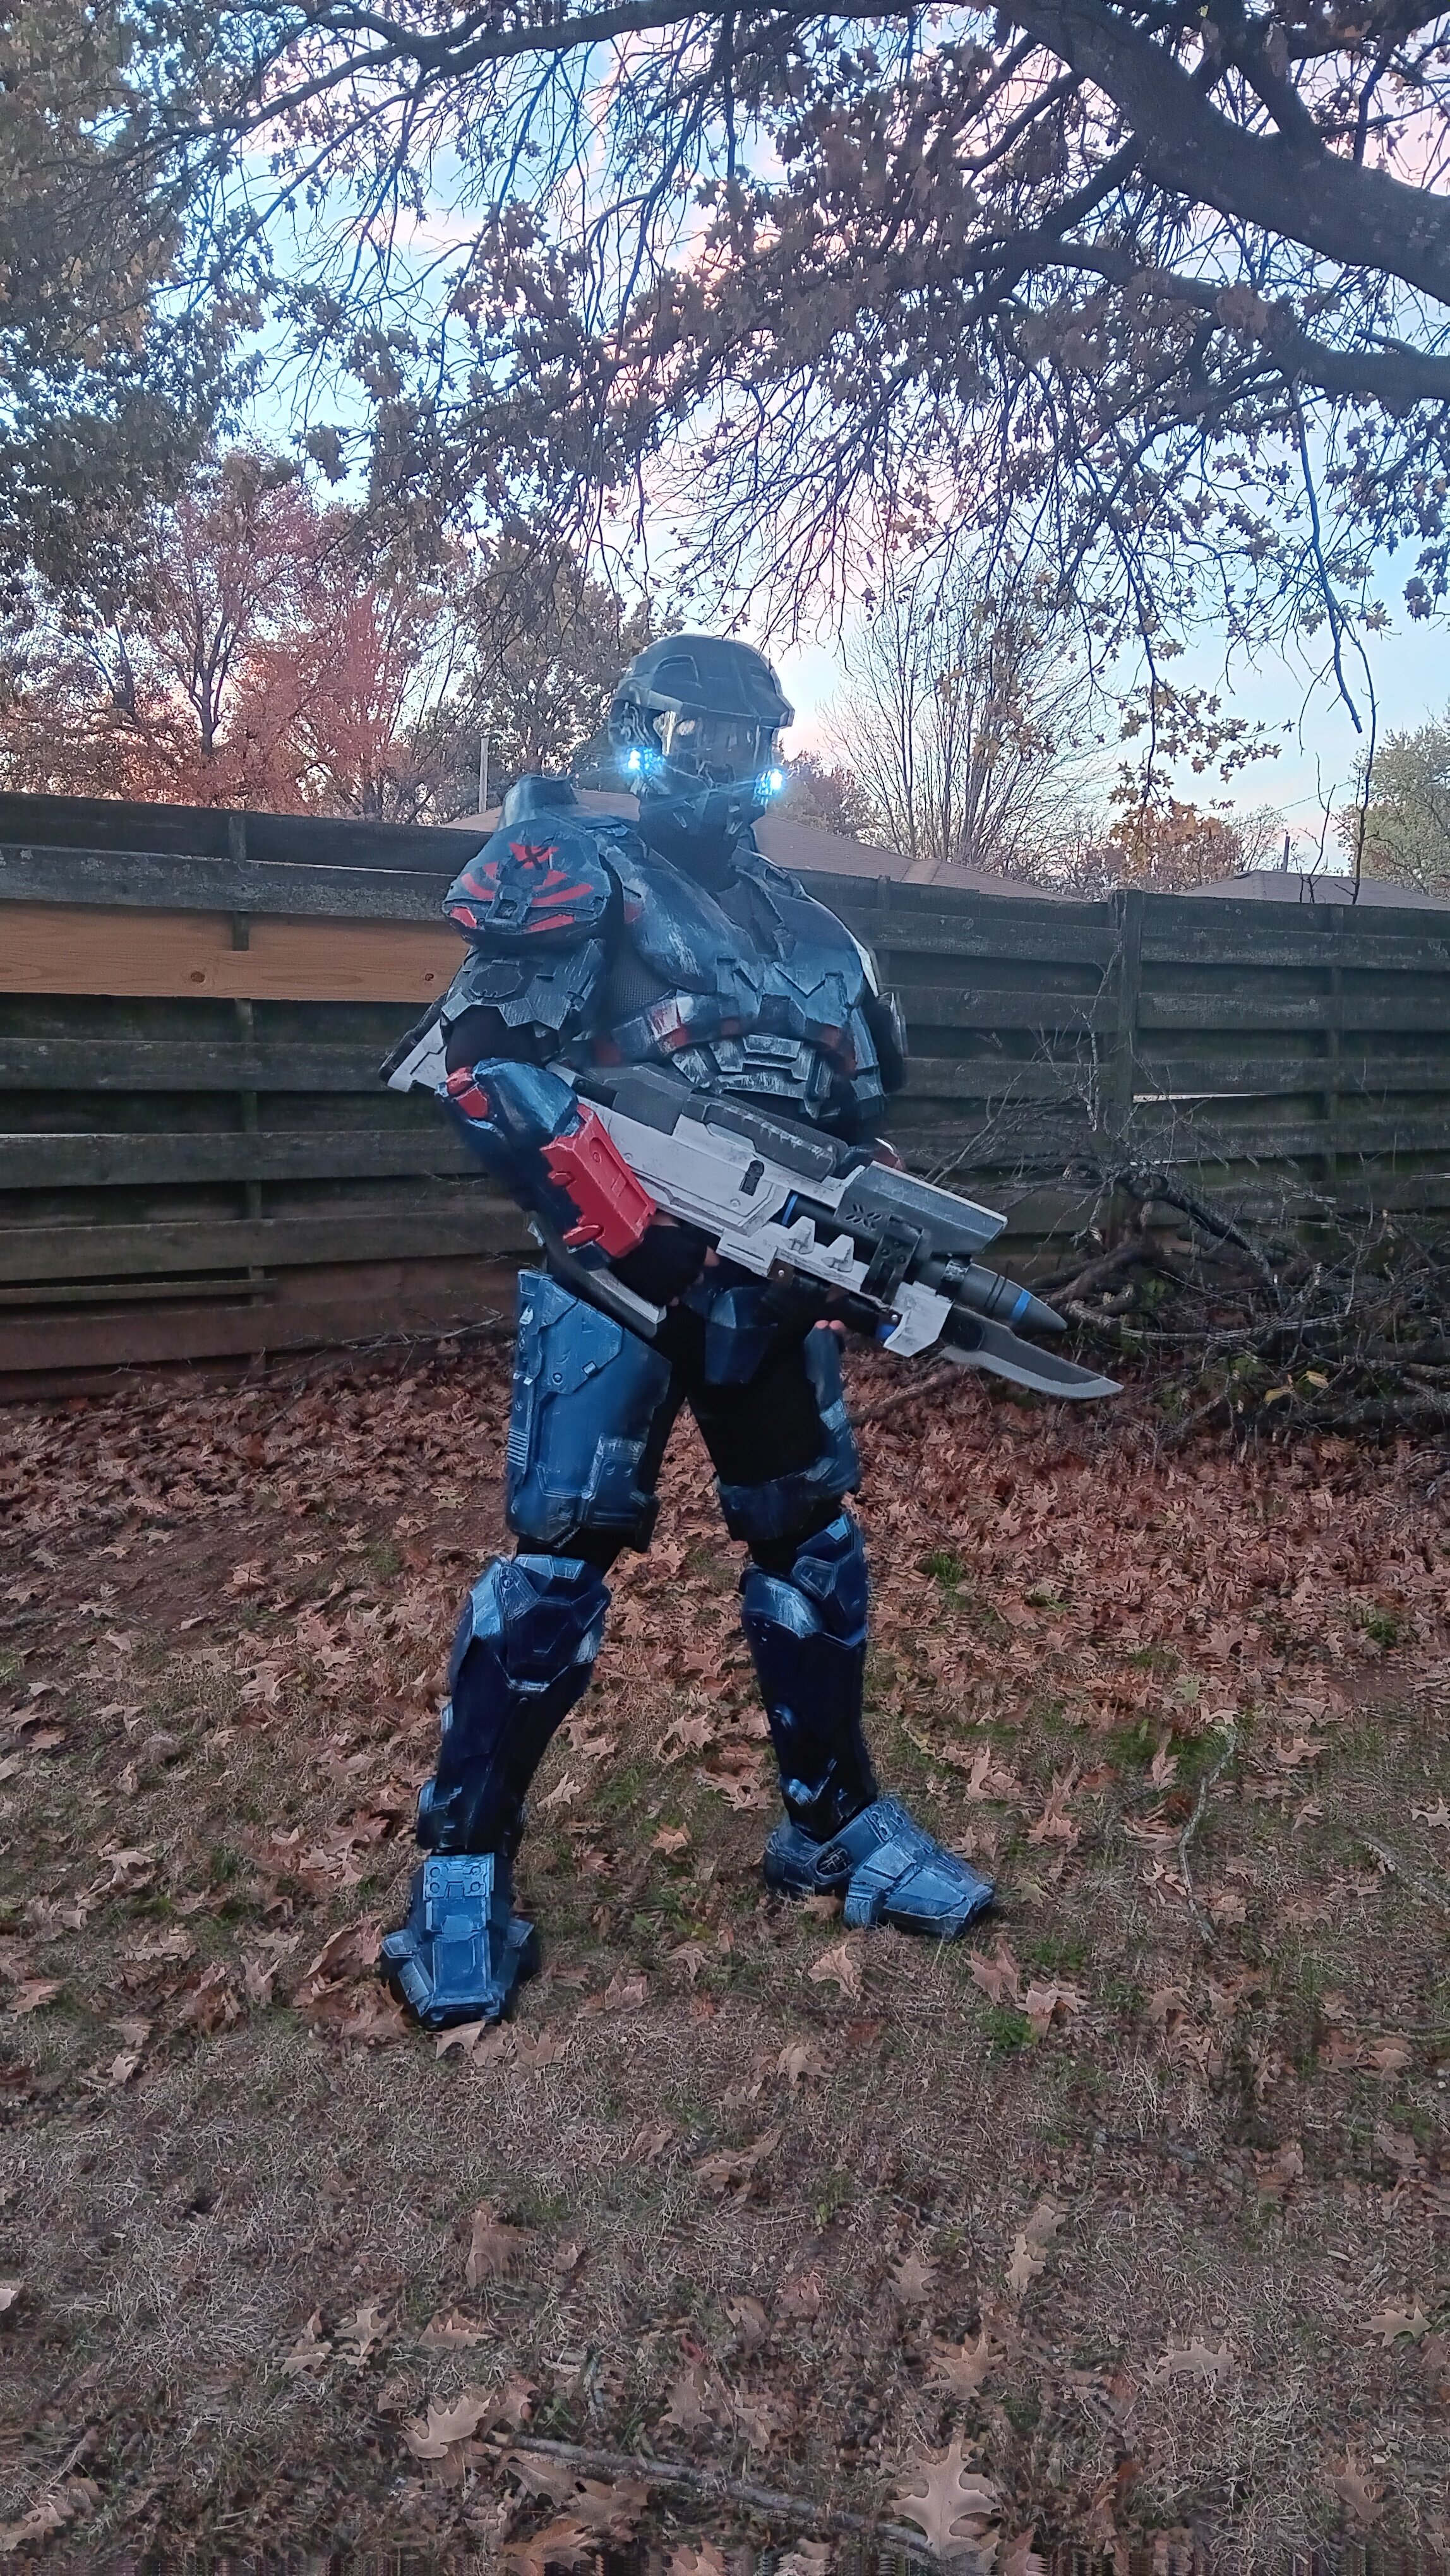
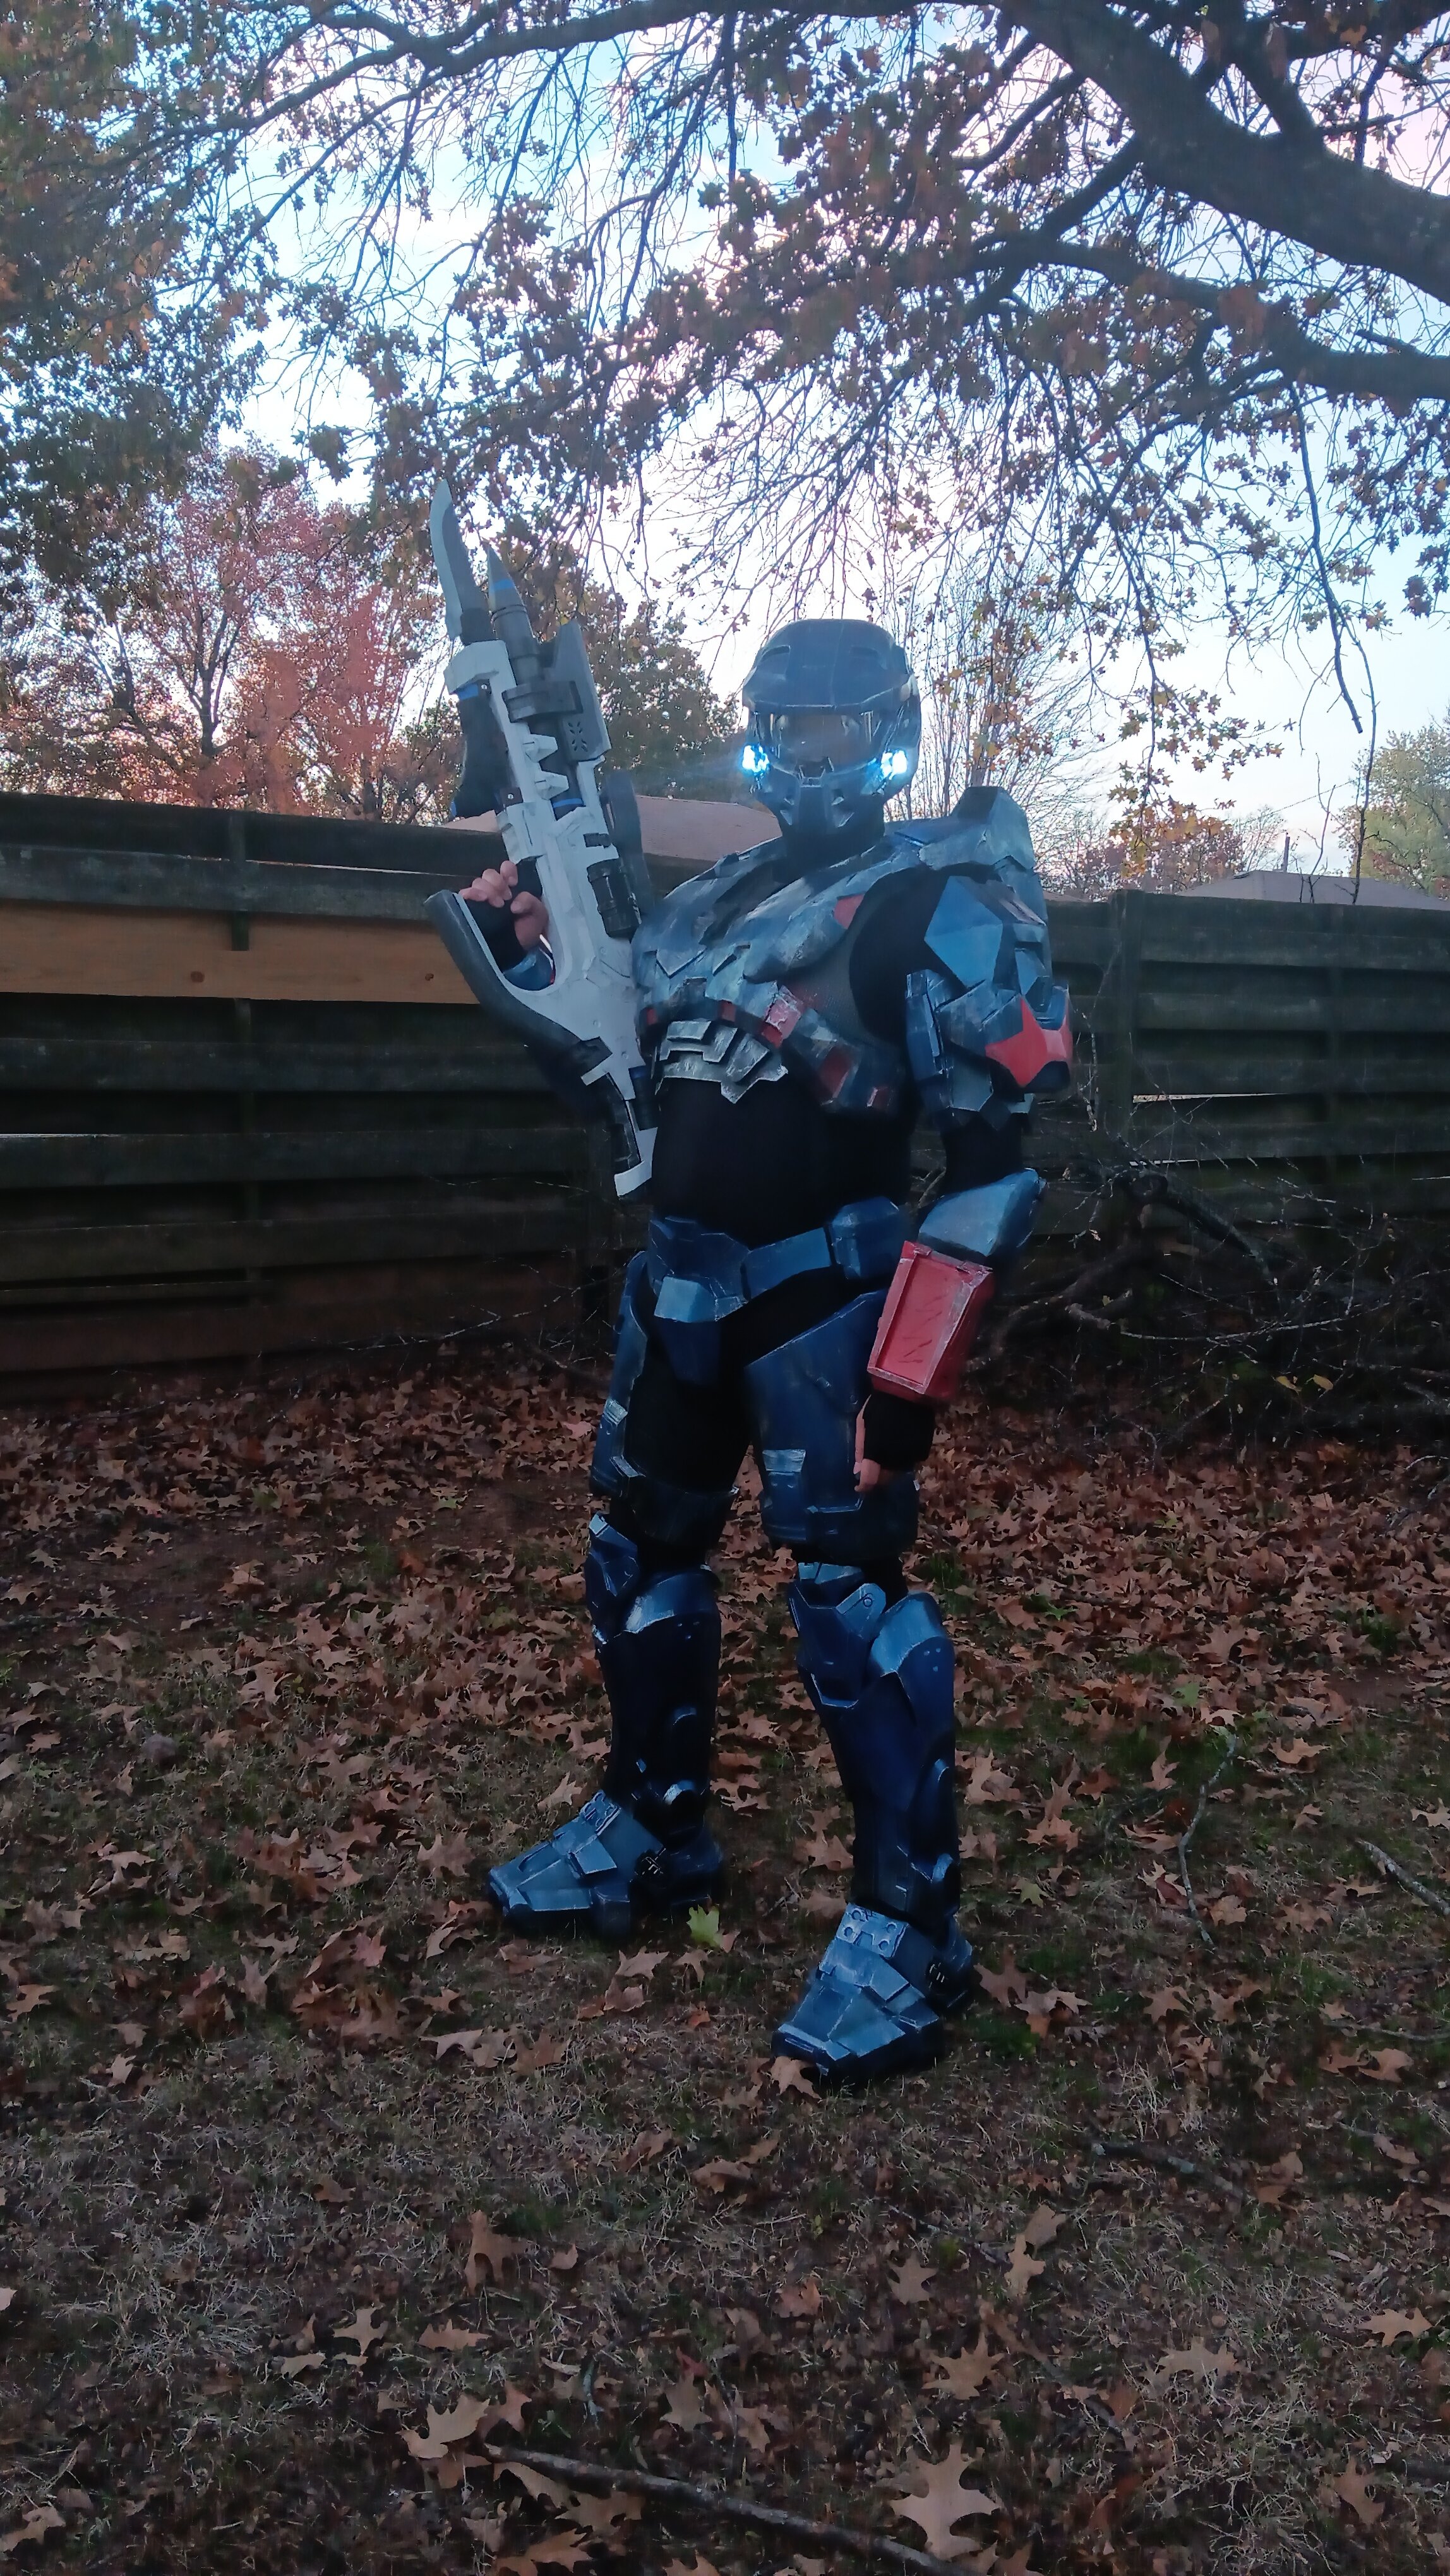
And so concludes my time with this prop. I had a lot of fun building it, and I hope Sigma enjoys it too!
My thanks to MrJamin and the Midwest staff for setting up the Secret Santa this year. Without it, I would never have stretched my prop muscles to build a project like this.
Alright, that is enough from me. rickrtickr out!

